No Tape Measure? Estimate Your Size
Learn how to estimate your bra size using visual judgment, wear feel, and common misfit signs.
Create a measurement-friendly space
Mirror the posture, breathing cadence, and alignment from our primary measurement guide so the numbers you capture today convert cleanly once you return to a flexible tape.
Prep your environment
- Choose a well-lit room with a mirror to double-check band height
- Wear a lightly lined bra or fitted tee so fabric doesn't add volume
- Stand upright with neutral breathing to mimic our measurement cadence section
Gather quick substitutes
- String, shoelaces, charging cables, or ribbon work for wrap measurements
- Use a ruler, yardstick, or printable grid to translate string length to inches/centimetres
- Keep painter's tape or clips on hand to mark anchor points before you move
Sync with our toolkit
- Log your numbers in the Measurement Log PDF for future reference
- Match results with our calculator immediately so you capture both band and cup
- Flag any posture adjustments you notice for your next “with tape” session
Important Note
While these methods can help you estimate your size, they are not as accurate as proper measurements. For the best fit, we recommend using a tape measure and our measurement guide.
String and ruler method
Wrap string under the bust and across the fullest point, mark with pen, and compare against a rigid ruler or flat measuring app.
- Anchor the string snugly beneath the bust and overlap the ends with minimal slack
- Pinch the string where the ends meet and mark the point with a clip or marker
- Lay the string against a ruler or the edge of a notebook and record the length in centimetres
Printable strip or paper method
Use paper strips or our printable grid to simulate a tape measure when you only have flat materials available.
- Cut a long strip of paper, align the edge at your starting point, and wrap it around the torso
- Mark the meeting point with a pencil, then use a ruler to find the total length
- If you need extra length, tape multiple strips together so the seam stays flat
Closet benchmark check
Measure a bra that currently fits best and use its band and cup to triangulate your starting point.
- Fasten the bra on the loosest hook and lay it flat without stretching the elastic
- Measure the band from hook to clasp with a ruler, then double the number for total band length
- Compare cup depth and wire shape with our fit checkpoints to understand required adjustments
String measurement close-ups
Mirror these checkpoints while you follow the string-and-ruler method so your no-tape results stay aligned with our calculator cadence.
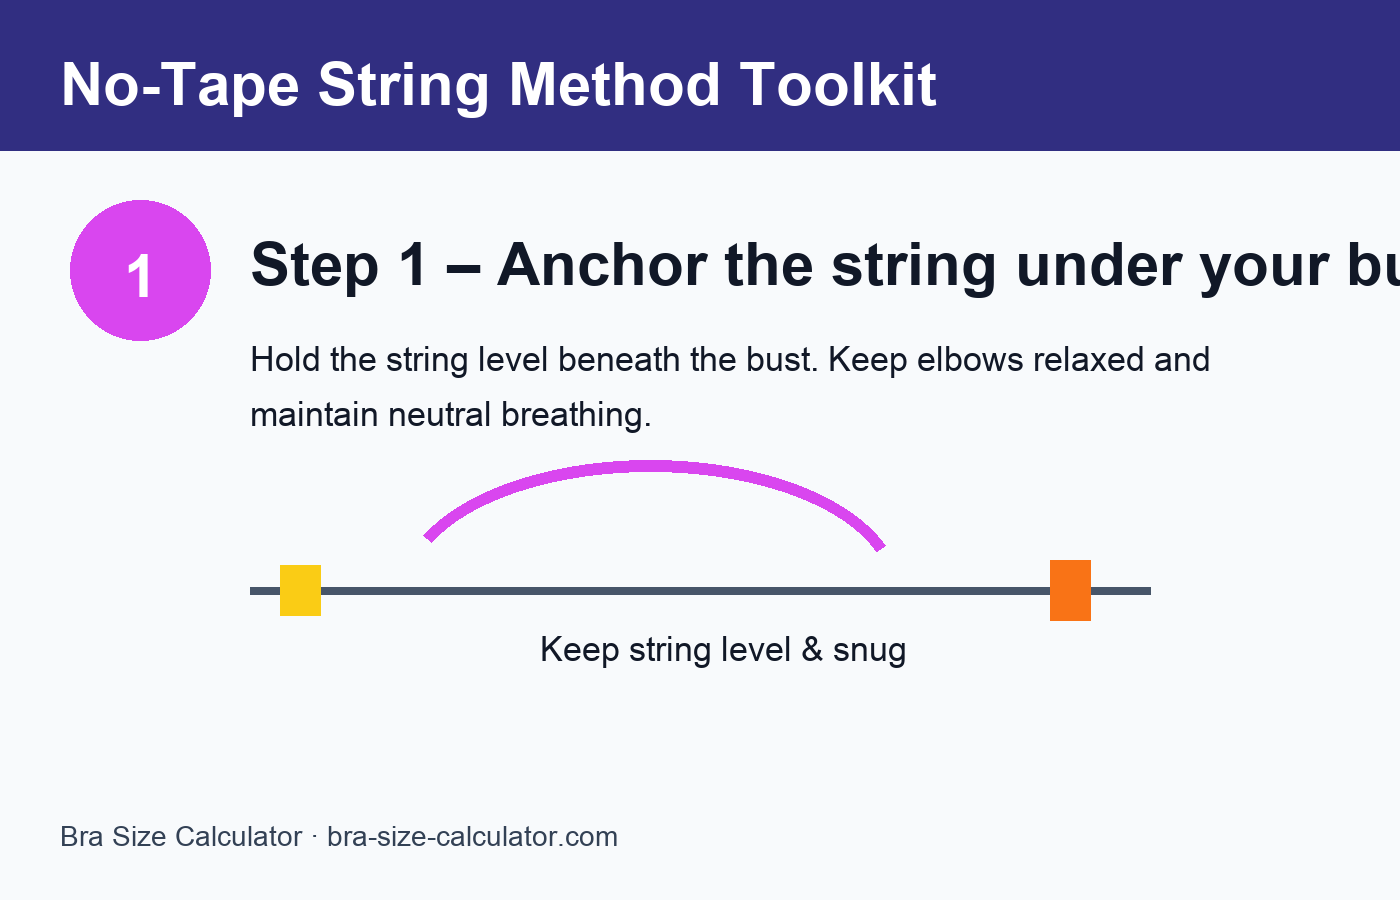
Anchor the string under your bust
Keep elbows relaxed and exhale gently so the string sits where your band should rest.
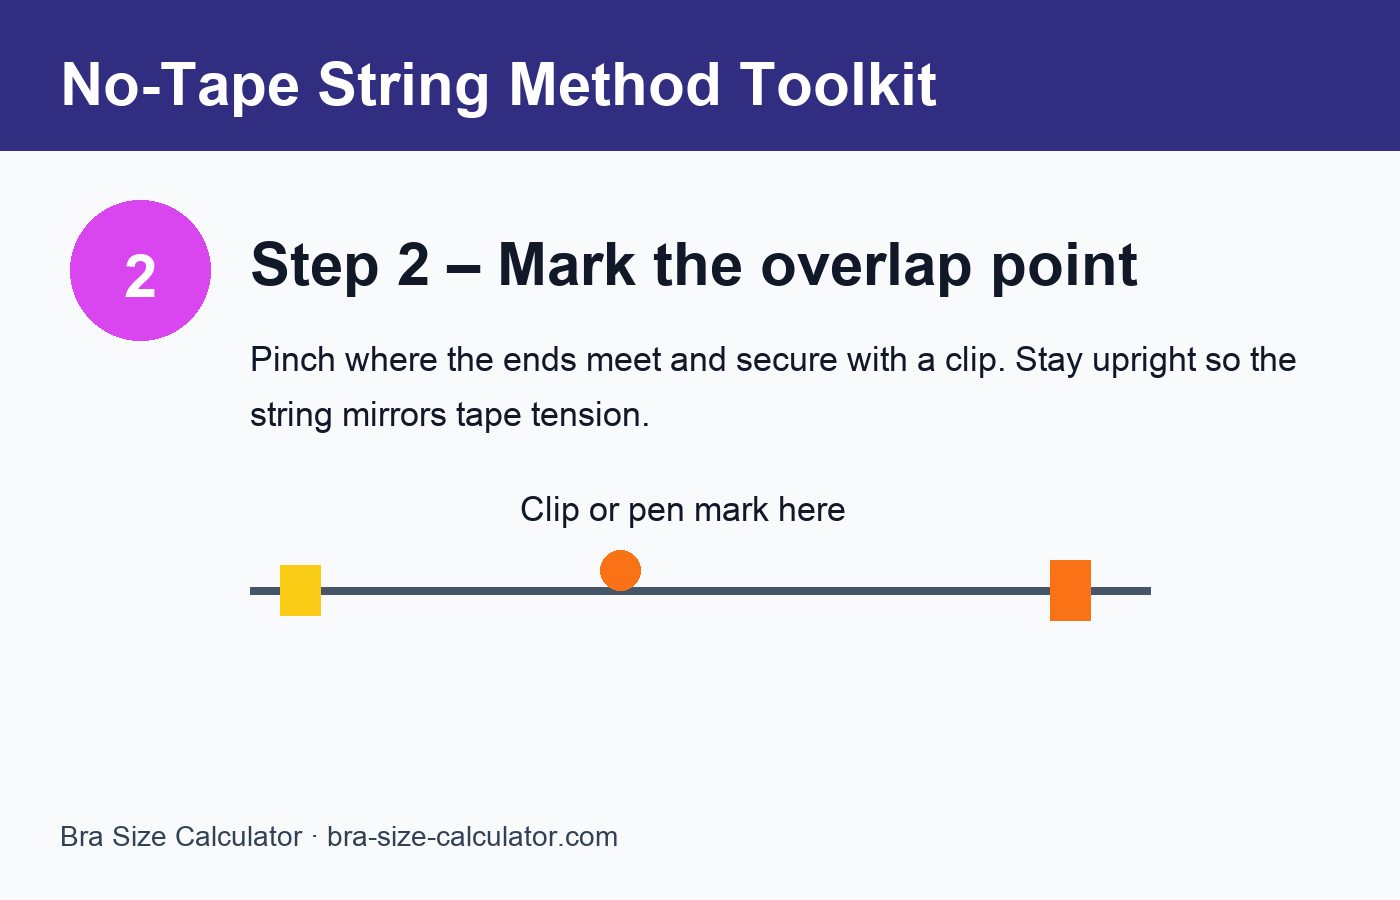
Mark the overlap without shifting posture
Use a clip or pen to secure the meeting point before you move away from the mirror.
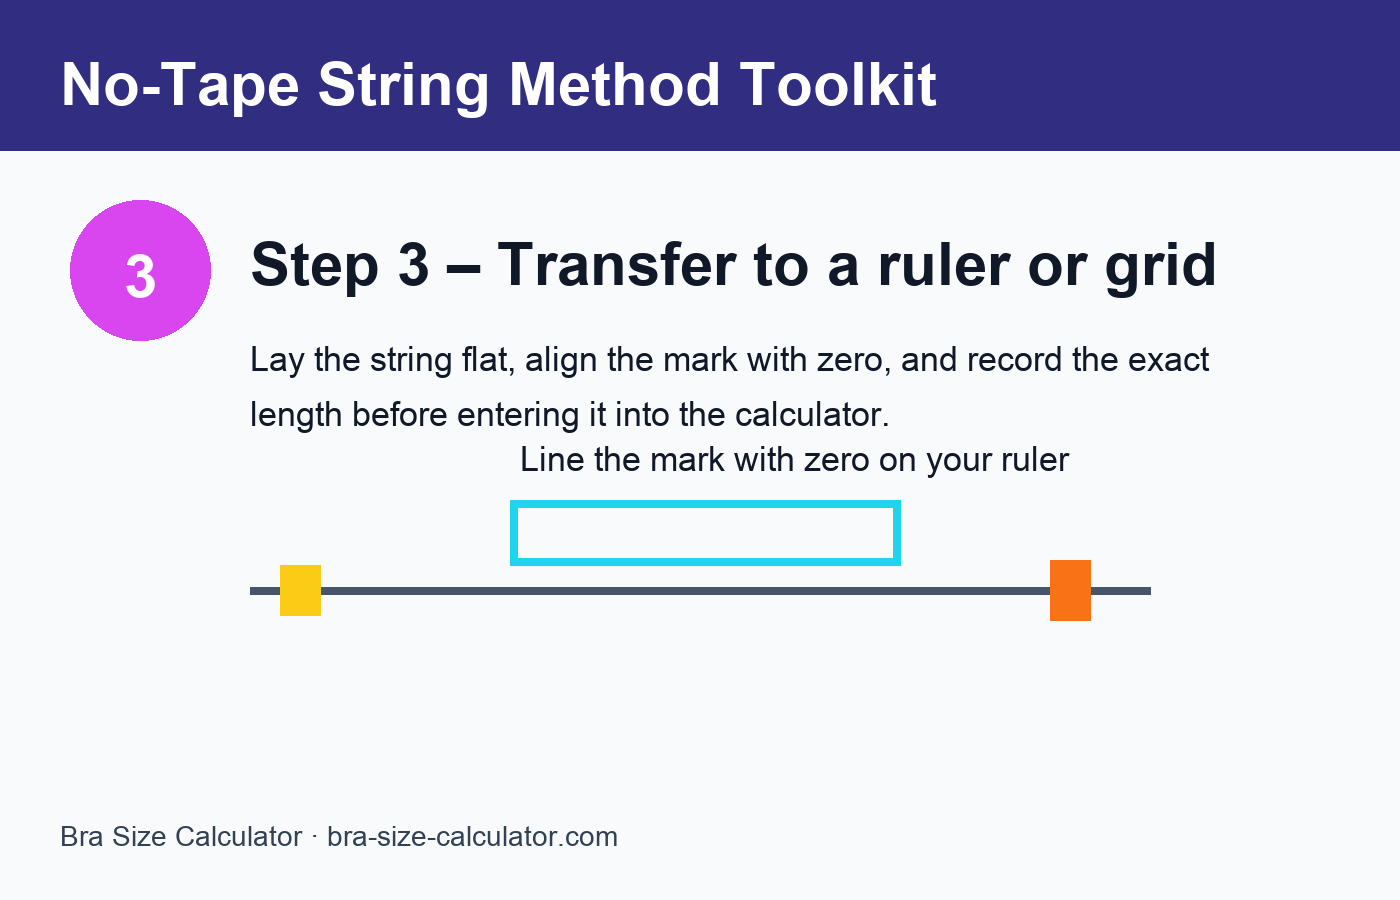
Transfer length to a ruler or grid
Align the mark with zero on a rigid ruler and record the exact measurement for the calculator.
Need the visuals offline? Download the full-resolution set along with our printable measuring strip in the toolkit below.
Visual Judgment
Look at your current bras and compare their fit to determine if you need to go up or down in size.
Wear Feel Guide
Pay attention to how your current bras feel when you wear them.
Common Misfit Signs
Recognize the signs that your current bra doesn't fit properly.
Trial-Based Suggestions
Use your current bra size as a starting point and try different sizes.
Size Adjustment Guide
Band too tight
Try going up one band size (e.g., 34 → 36)
If the band feels constricting or leaves marks
Band too loose
Try going down one band size (e.g., 36 → 34)
If the band rides up or doesn't provide support
Cups too small
Try going up one cup size (e.g., B → C)
If there's spillage over the top or sides
Cups too large
Try going down one cup size (e.g., C → B)
If there are gaps or wrinkles in the cups
When to repeat your no-tape check
These triggers mirror the measurement cadence on our core guide to keep your size data fresh.
After significant body changes
Track shifts after hormonal changes, pregnancy, weight fluctuations, or new training blocks.
Seasonal wardrobe resets
Audit sizes at the start of summer and winter when fabric weights and sweat patterns differ.
Support performance check
If you feel bounce, digging, or gaping, log the issue and remeasure before your next purchase.
Additional Tips
- Try on bras in the afternoon when your bust is at its fullest
- Wear the bra on the loosest hook initially, as it will stretch over time
- Different bra styles may fit differently even in the same size
- Consider getting professionally fitted for the most accurate results
Log your string readings
Capture every substitute measurement alongside notes about posture, support goals, and follow-up tasks. Bring the file with you when you transition back to a traditional tape.
Measurement log template (PDF)
Document string-based readings, remeasure dates, and brand trials.
Measurement log template (CSV)
Save cadence, posture notes, and calculator outputs in your spreadsheet.
Senior comfort daily tracker
Monitor daily comfort cues if you rely on softer substitutes in place of tape.
Printable measuring strip (PDF)
Cut-and-tape inches & centimetre segments when a flexible tape is unavailable.
Posture alignment visual (PDF)
Check stance, shoulder positioning, and breathing cadence before string measurements.
String measurement close-up set (ZIP)
Download high-resolution diagrams for anchoring, marking, and transferring your string measurements.
Need More Accurate Results?
For the most accurate bra size, use our measurement guide and calculator.
Visual assets in production
We are preparing supporting imagery so this guide can feature posture checkpoints and before/after comparisons in the next release.
Posture alignment visual – illustrated upgrade
Convert the current PDF into a full-colour illustration with front and side posture angles.
String method mini clips
Add short looping videos that demonstrate anchor, mark, and transfer motions in real time.
Before/after fit storyboard
Panels comparing “guess-and-go” vs. logged measurements to highlight improvements in band stability.